Vision Training: Fork Art

I greatly valued my education when I was a scientist, and always looked to learn new skills. That hasn’t changed now that I am a photographer.

A while back, I took an online class “Stretching your frame of mind”, taught by Joe Baraban, and this course left a lasting impression on me. The instructor, who is a top photographer with an impressive list of clients and awards,  told us about the principles of design. He also stressed the fact that he had the great advantage of having studied art instead of photography.

Fork and reflection edited using the Photoshop Gradient Map tool
I took a picture of a fork on a black piece of plexiglass (hence the reflection) and then started playing with the Photoshop Gradient Map tool.
Fork and reflection edited using the Photoshop Gradient Map tool
Another version of the fork photo using different colours in the Photoshop Gradient Map tool.

So when the opportunity to take a graphic design class on Coursera presented itself, I immediately signed up. The first week of the class was an introduction to image making, and we were asked to create at least ten images of an ordinary household object.

Fork and reflection edited using the Photoshop Gradient Map tool and the addition of a texture filter from the Photoshop filter gallery
In this version, I changed the colours of the Gradient Map again and also added a texture using the Photoshop filter gallery. When combining these two tools, the possibilities are nearly endless.

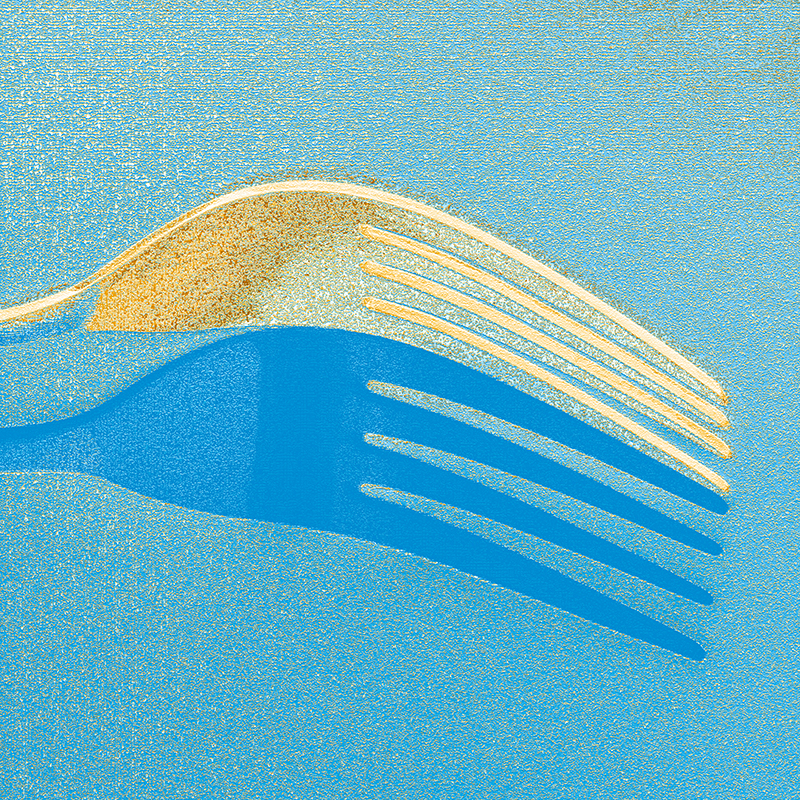
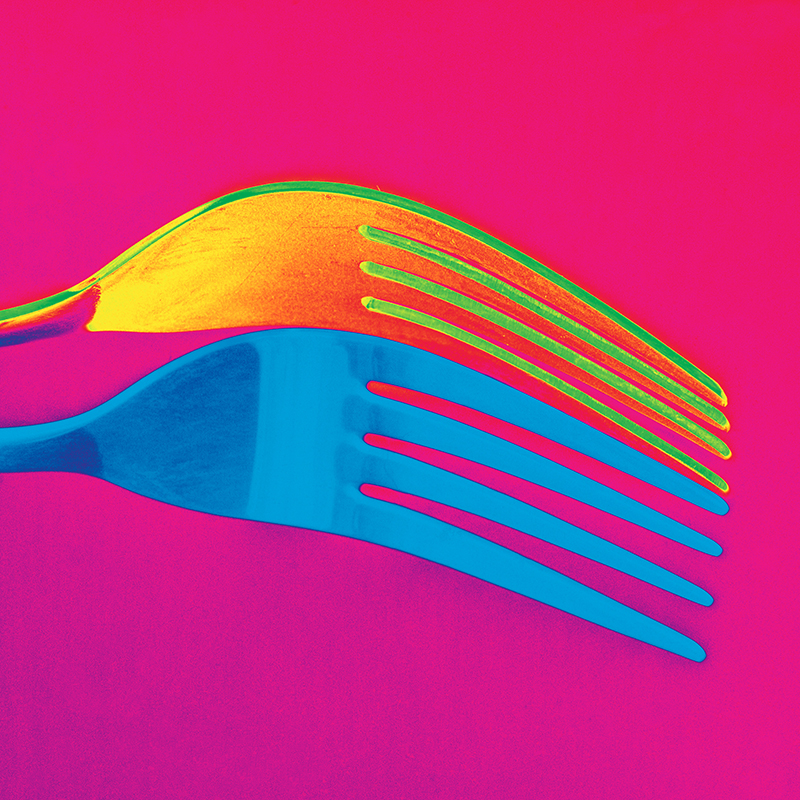
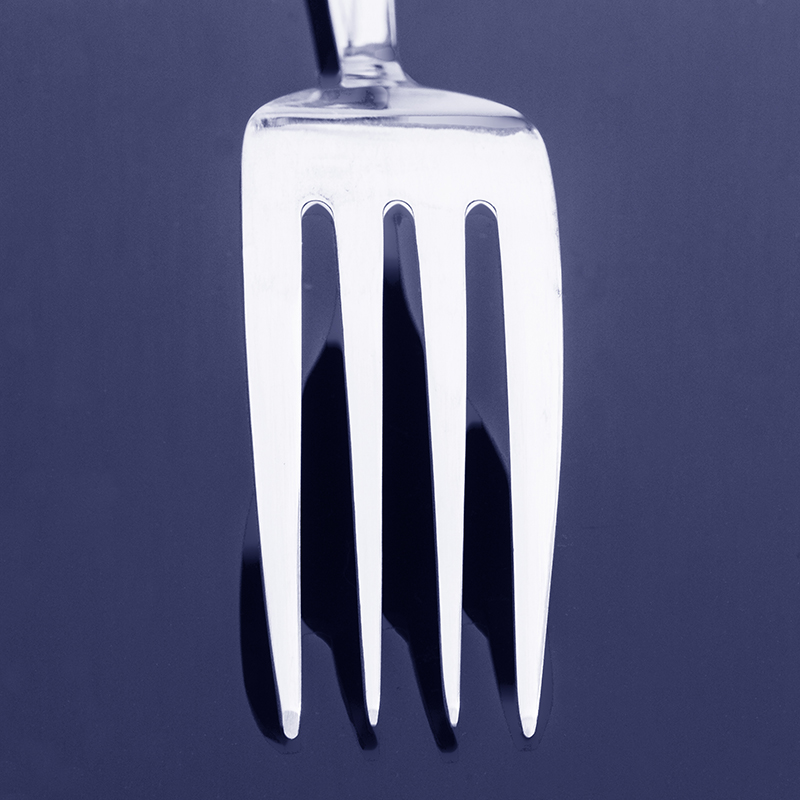
I chose a fork for the assignment, because I really like the lines and shapes of that object. Visually, I find forks more interesting than knives and spoons. And I didn’t want to chose too large an object, because that would have made finding a suitable background more difficult.

Fork and reflection edited using the Photoshop Gradient Map tool and the addition of a texture filter from the Photoshop filter gallery
Another version using the Gradient Map and the texture filter. Sometimes it’s hard to know when to stop!

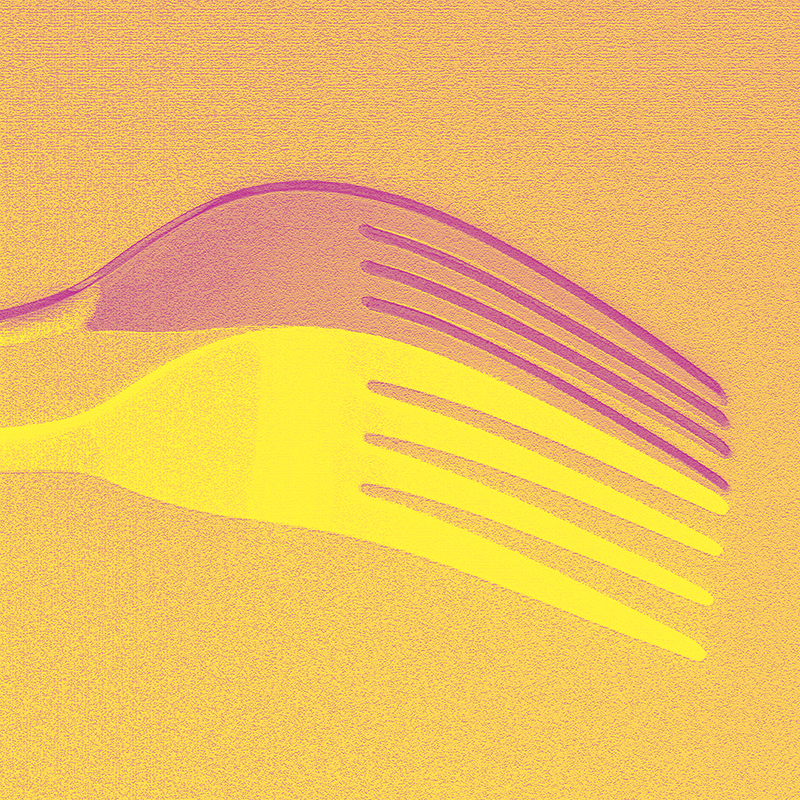
Initially, I thought I’d need about three compositions of my fork on a background in order to generate the ten different versions required for this assignment. But when I started playing around in Photoshop, I quickly generated ten variants using only the composition above. I’m only showing you my favourites.

Black and white picture of the fork on a black pice of plexiglass
It is easy to overcomplicate things, when playing around in Photoshop, by stacking many effects. It is useful at some point to step back and try a new simple version. Like a black and white one for example.

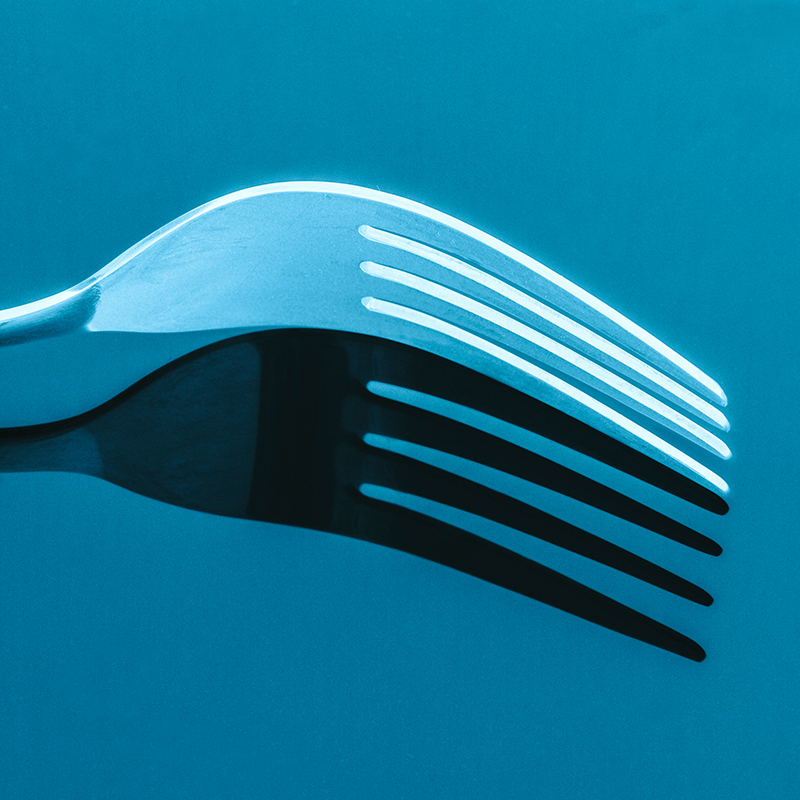
It is also fun to play with the various Duotones, Tritones and Quadtones that come with Photoshop. There are many good tutorials on this subject online. The photograph below uses one of the default Photoshop Duotones.

Fork on black reflective background edited with a Photoshop Duotone
I used a different composition to play with the various Duotones available in Photoshop. Here again, there are many, many possibilities available to you if you are willing to experiment.

To conclude, I strongly suggest you try this exercise with a household object of your choosing. It opened my eyes to many new possibilities for image making.

Fork on black reflective background edited with a Photoshop Duotone and a texture filter from the Photoshop filter gallery
One can of course combine effects and add a texture filter to the Duotone photograph. Here is an example using the craquelure filter from the Photoshop filter gallery,


Share this content on Facebooktwitterredditpinterestlinkedinmailby feather